


East Lake Axle stocks and sells replacement CV Axles, wheel bearings, bearing and seal kits, clutch components, and other hard to find parts for just about every ATV or UTV ever made. The impressive vehicle list will surprise you, and the best part is that they’re priced far less than half of their OEM counterparts. We tested their claim to carry just about everything, with an order for front CV axles for a true classic – the 1996 Polaris Xplorer 400! If you’re not familiar with this one, it’s a 2 stroke 4×4 utility quad, with a chain driven front differential and solid rear axle. While it is quite the oddball, our install process will be very similar to any late 90’s and early 2000’s Polaris 4×4. Check them out at www.eastlakeaxle.com
- Pressure wash any mud from the front hub/a-arm area, secure the machine on a jack or a stand, and remove the front wheel. You can use a flat blade screwdriver to remove the hub oil cap. It will have sealing O-rings, and oil should drain when you pop it out.

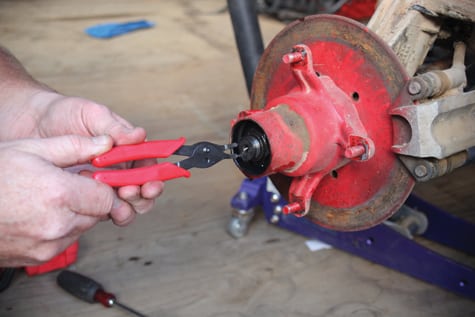
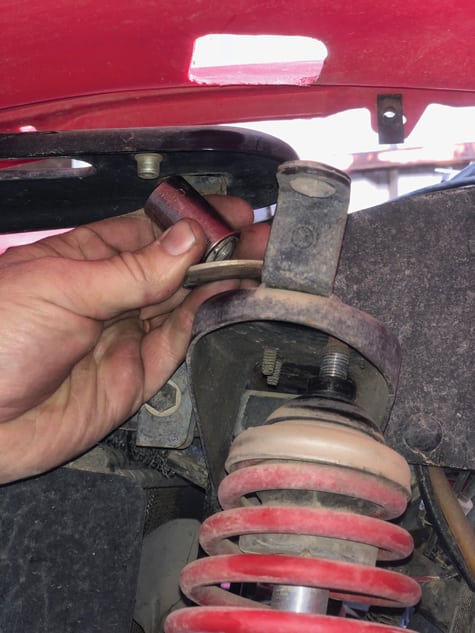
- With the hub oil drained into a pan or towel, remove the snap ring from the end of the axle with a pair of snap ring pliers. You will also need to remove the two brake caliper bolts, and hang the caliper out of the way.
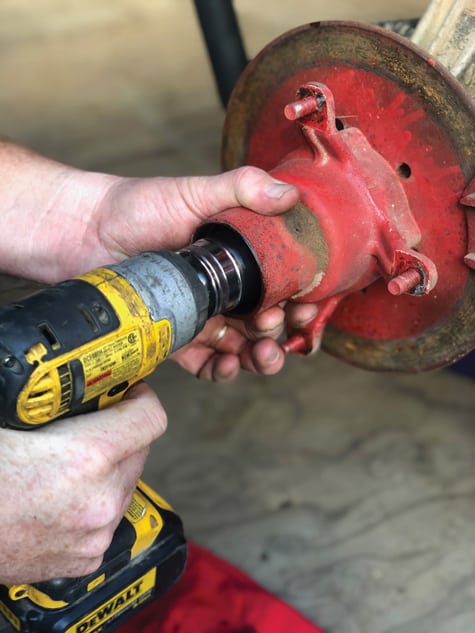
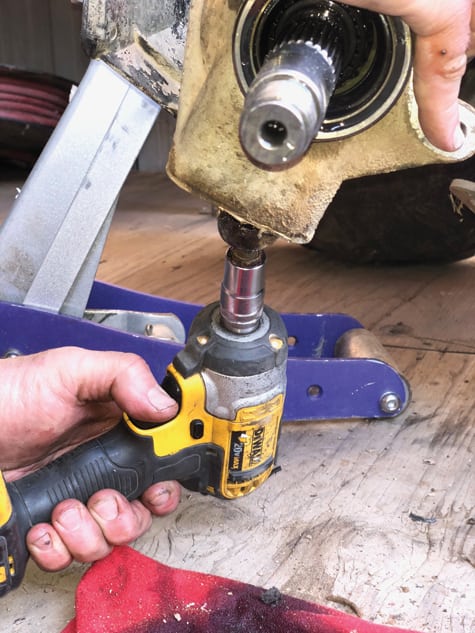
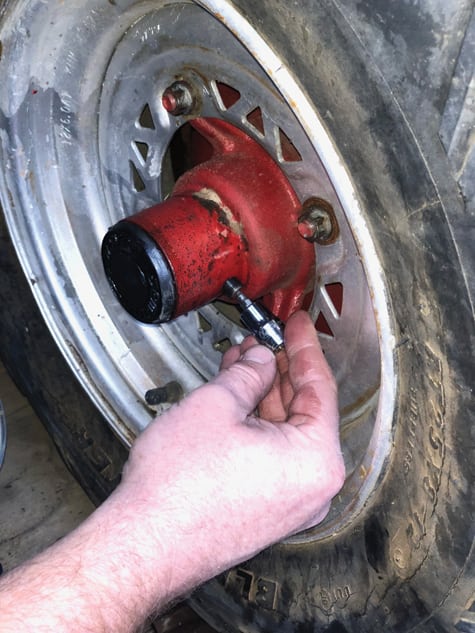
- Remove the large castle nut from the end of the axle. We used an impact gun, but if you don’t have one, you can hold the inner axle from spinning with pliers or vise grips.
- Remove the hub assembly, being careful to keep the outer bearings in the hub. You can take them out for inspection, cleaning etc., but you will want to pay special attention to their order.
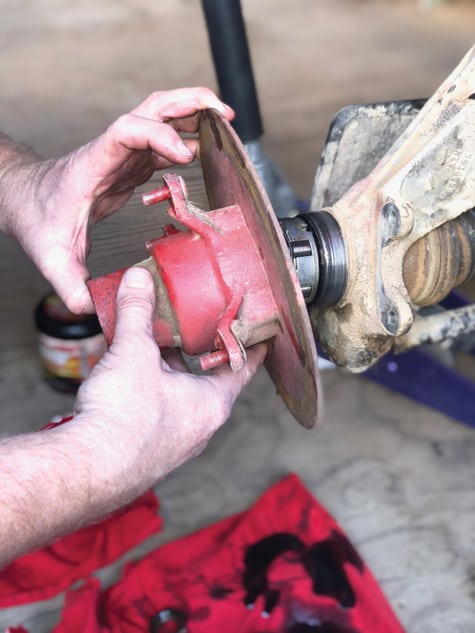
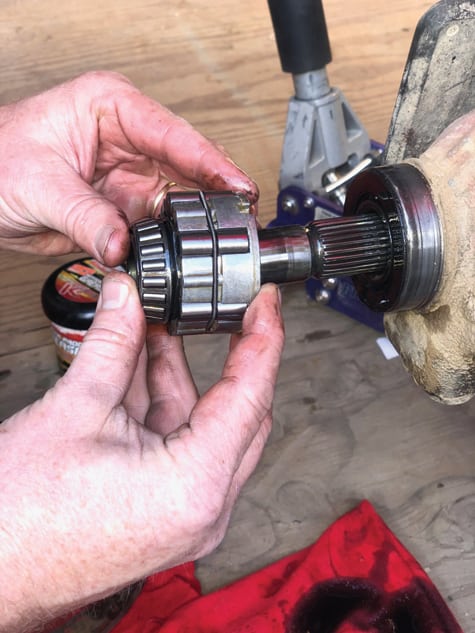
- You will now slide the hub bearing and engagement clutch assembly off the axle shaft. If it stays in the hub, you can pull it out with your fingers. Word of advice, this assembly is crazy expensive from Polaris, so don’t drop it, lose it, or otherwise damage it.
- Remove the top nut from where the strut attaches to the frame. Pay attention to the washer placement. You could probably do this project without removing this nut, but it gives you extra room to move everything around.
- Remove the lower strut nut that attaches it to the a-arm. We used an impact, because it can spin, but it can be done without. Once removed, you will want to use a pry bar to apply downward pressure on the arm. You can smack it with a hammer if it won’t separate.
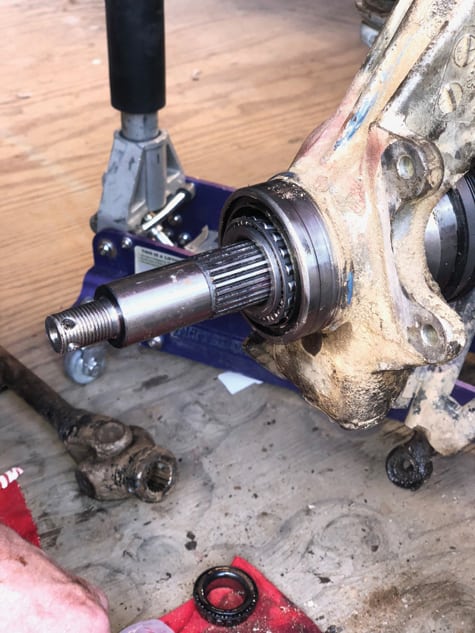
- With the strut separated from the a-arm, pull the cv axle out of the strut. That bearing is the inner cv/strut wheel bearing. It will get greased and reused, or you can replace them with new from East Lake Axle. Ours did not show any wear, but if you opt to replace it, you will need to remove and replace the bearing races from the strut as well.

- Use a hammer and punch to drive out the drift pin that secures the axle knuckle onto the splined output shaft. It will be difficult as there is not much space, rotate the axle until it is designated to where you have room for the hammer.
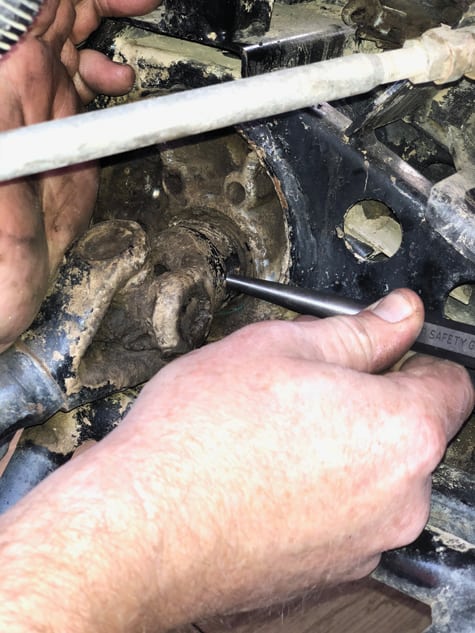
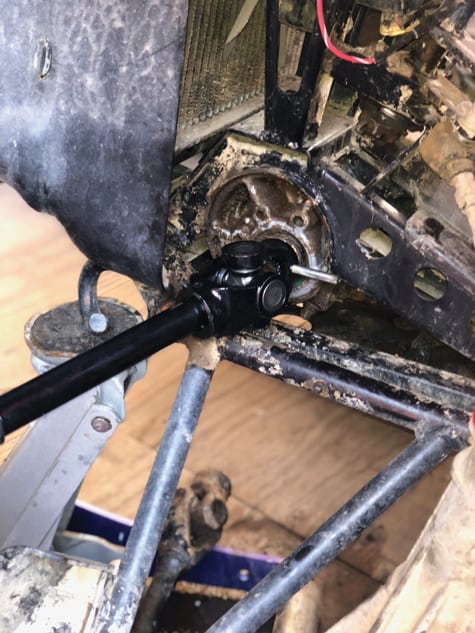
- Install the new axle knuckle onto the output shaft. Be sure that you have the pin holes lined up so that you can reinstall the pin. Use a hammer to drive the drift pin back into the hub knuckle and output shaft.
- Designate the proper wheel bearings against the hub bearings. The hub bearings are slightly smaller and won’t slide all the way on the axle like our wheel bearing. These two larger ID bearings will get packed with wheel bearing grease, and they can be installed onto the axle, or set into the race in the strut.
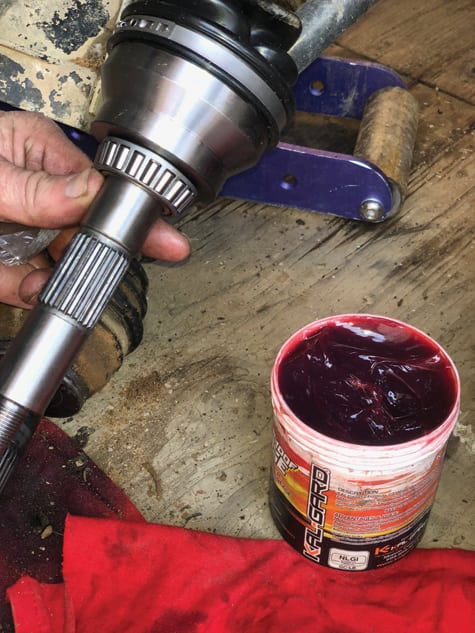
- With the new cv installed through the strut and inner bearing, you will then grease and install the outer strut/wheel bearing. These get packed with grease, but the slightly smaller hub bearings are lubricated by the hub oil.
- Carefully slide the hub/clutch bearing assembly from step 5 onto the new axle. Then install the hub onto the shaft and install the outer hub bearing. These do not get greased. The new axle comes with a different style nut and a cotter key instead of the circlip retainer. The torque spec is very low at 165 IN lbs., or just under 14 ft. lbs. Do not over-tighten or you will ruin your bearings.
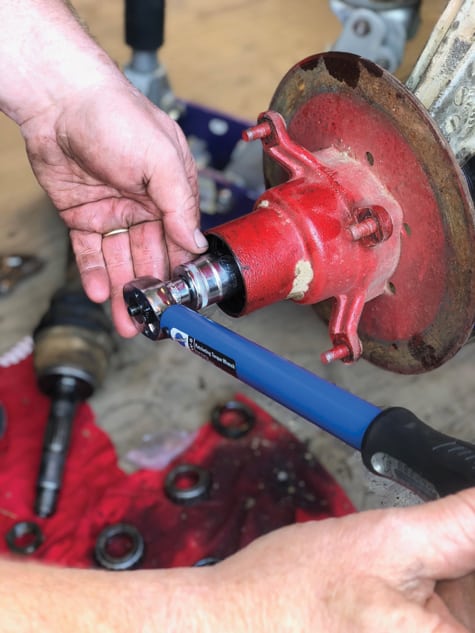
- Push the hub oil cap into place, Re-assemble the entire suspension system in the reverse of taking it apart. You are now ready to refill the hub with oil. Polaris recommends only using their Demand Drive Plus Fluid, but we’ve heard that Type F transmission fluid will work as well. The fill plug is removed with a 3/16 Allen, and then fill the hub with the oil hole at 12:00.
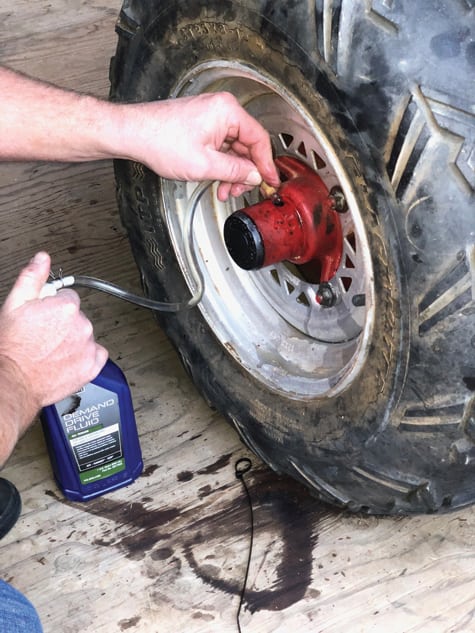
- Rotate the wheel/hub until the hole is at 4:00 designation. This will allow the excess fluid to drain off, leaving you with the proper fluid amount. Once it stops draining, reinstall the drain/fill plug and tighten.
It seems like a lot of time, but it was really only about 45 minutes per side, and the job requires minimal tools. If your bearings and seals are hammered, be sure to pick them up from East Lake Axle as well. They are very inexpensive and can get you back on the trail in a hurry.


